Getting Started with the Gateway and Gateway Shield
The bluz gateway and gateway shields are hardware devices that allow you to connect your bluz DK to the Particle cloud without a smartphone. This is greatly beneficial for many applications where the devices must work and be connected at all times. These devices are basically a bridge from Bluetooth LE to WiFi or Cellular, and can allow up to 3 bluz DK devices to connect to the cloud at one time.
The gateway/gateway shield acts like any other Particle device, it can be programmed OTA and access all Particle functions. Once your device has been powered on, you can claim it and program it through the Web IDE.
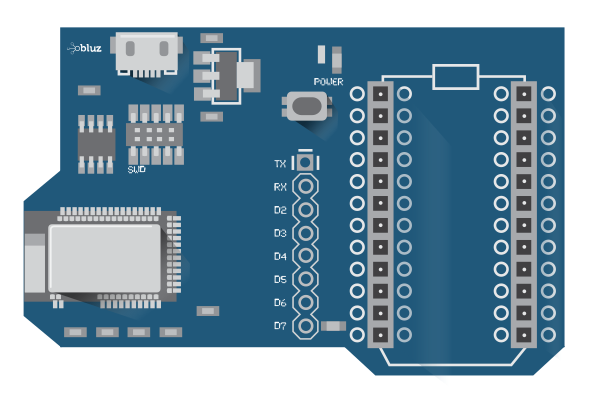
The difference between a gateway and a gateway shield has to do with the Particle device attached. The gateway shield has a socket to accept a Particle Photon, Core, or Electron. This gives flexibility as it can be used with WiFi or Cellular, or future technologies. The gateway, on the other hand, has a Particle P1 module built in, so it will only work with WiFi.
This tutorial will walk you through getting your gateway or gateway shield setup and working. This tutorial assumes you have already setup and claimed your bluz DK devices using the Getting Started tutorial.
For this tutorial, you will need:
- One bluz DK
- One power source (battery shield, battery, USB line, etc.)
- A Particle account (if you don't have one, you can sign up here)
- One of the following:
- Bluz Gateway Shield with Particle Core, Photon, or Electron
- Bluz Gateway
Gateway Shield Setup
Gateway Shield setup involves programming the Particle device and pairing it with the shield
- Take a Particle Core or Photon and power it on and connect it to the cloud. For more information on setting up your Photon, see the Particle Documentation
-
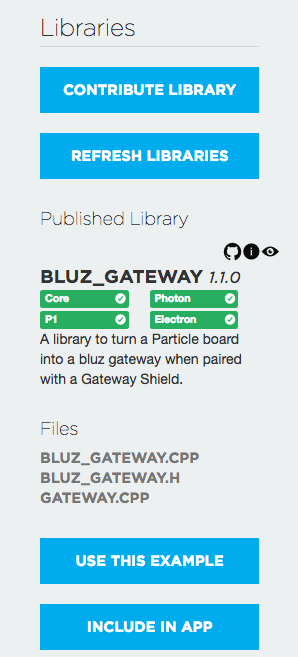
Open the Particle Web IDE and click on the Libraries tab
-
In the search box for Community Libraries, type in bluz. Select the BLUZ_GATEWAY library
-
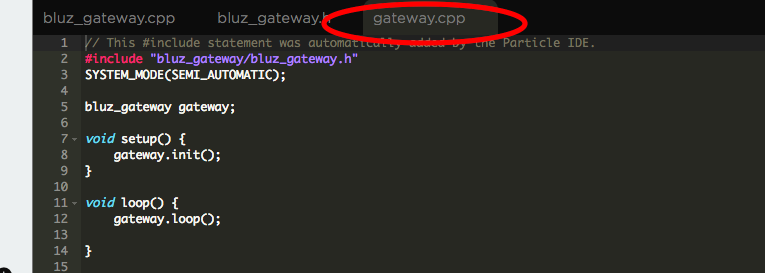
In the editor section, make sure you have selected the gateway.cpp file
-
Select the Use This Example button, it will create an app called Gateway in your IDE
-
Make sure your Particle device is selected from the Devices tab, then flash the code to your device and wait for the update to complete
- Unplug the USB cable to your Core/Photon and place it into the socket on the gateway shield
- Power on the shield by plugging a USB cable into either the Core or Photon, or the USB connector available on the gateway shield
- The LED on D7 of the gateway shield will remain off until the Core/Photon is connected (breathing cyan). Once this happens, the LED on D7 for the gateway shield will blink rapidly, indicating it is connecting to the cloud*
- After approximately 10-15 seconds, the LED on D7 of the gateway shield will blink once every 2 seconds. This indicates the gateway shield is online
Gateway Setup
As the gateway has a P1 built-in, there is no need to program the device. However, you need to pass WiFi credentials to the P1 module to get it online.
-
Download the Particle app from the respective store.


-
Sign into the app and click the Plus sign to add a new device. When prompted, choose Photon as the device type
- Follow the steps in the app to get the P1 module the proper WiFi credentials
- Once the P1 has the proper credentials, the gateway will come online and can be claimed
Claim Gateway or Gateway Shield
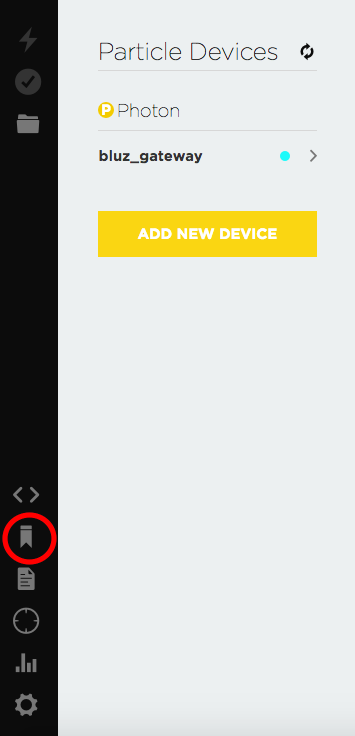
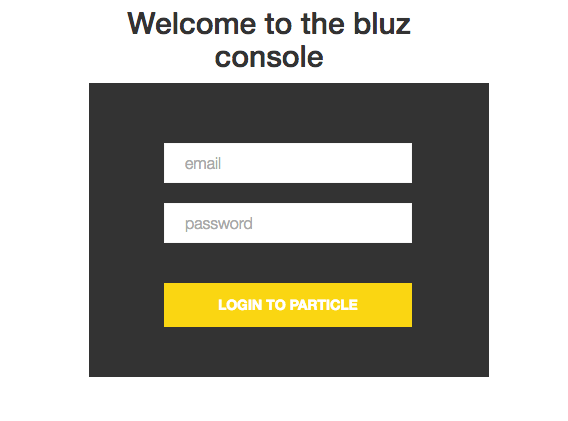
- To claim the device to your Particle account, visit the bluz console
-
Enter your Particle account credentials
-
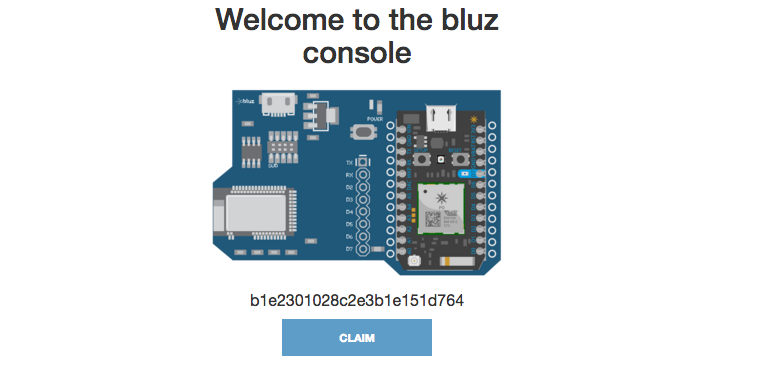
After the website searches your devices, it should find the gateway/gateway shield and allow you to claim the device
*NOTE: For the gateway shield, if the LED on D7 does not start to blink rapidly once the Core/Photon is breathing cyan, please follow these steps:
- Unplug the Core/Photon from the gateway shield
- Plug the Core/Photon into a USB power source and let it power on and get to the breathing cyan state
- While still powered, plug the Core/Photon into the gateway shield, being careful to push on the sides of the board and NOT push on the metal shielding
Some boards shipped with firmware v1.0.47, those shipped before April 18th, 2016, may require these steps to connect. Once you update the firmware of the gateway shield, this will no longer be necessary. Follow these steps only if the LED on the gateway shield doesn't act accordingly.
LED States
There is an LED on D7 on the gateway shield, and a corresponding white LED on the gateway that can be seen through the case. This is the indicator LED for the nrf51822 system and its connection to the cloud. The LED will have several states: - Blinking quickly (twice a second): Attempting to connect to the Particle cloud - Blinking slowly (once every two seconds): Connected to the Particle Cloud
When an OTA update is initiated, the LED will also blink on/off for each data chunk received, so it will blink somewhat steadily on/off.
Gateway Shield Programming Limitations
The gateway shield requires more resources to run then bluz DK. Therefore, some peripherals or resources may not be available or may be limited. The following is a list of differences from bluz DK to the gateway shield: - SPI and I2C are not available on the gateway shield to the user app - Only 1K of RAM is available to the user app - The System.sleep(SLEEP_MODE_CPU) is not available or necessary in the user app - There is no RGB LED for the nrf51822 on the gateway shield
Further, it is advised that no code be placed in the loop() function. This can block the gateway shield from working properly.
The bluz console can be used to claim gateway shields, update their firmware to the newest version, and program Particle devices to work with them.